Step By Step Guide to Erect SA Game Fence Hinge Joint Fence
What you’ll need for our fencing guide:
Corner Posts and Intermediate posts
Supporting stays
Y-section Standards
Droppers (optional)
4 ton pullers or Donald’s Wire Strainers
Clamp Bar
Wire Joiner Tool
Post driver
Binding Wire
Ladder
Measuring Tape
Level
Tools to dig holes (Spade, Pick Axe)
Various Spanners
Fencing Pliers & Cutters
Sand, Cement & Gravel
Bitumen Aluminium Paint
Fencing Requirements
Use the correct fence height and pattern for your specific fencing requirements.
We have ± 50 different fence sizes & patterns available to meet all your fencing needs.
SA Game Fence Hinge Joint fences can follow long contours of up to 35°.
All Tools and Equipment mentioned in this guide are available at SA Game Fence.
Step 1
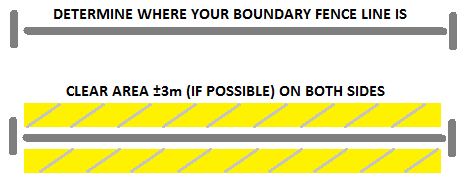
Placement
Determine where your boundary fence line is
Clear area ± 3m (if possible) on both sides
Step 2
Corner Posts
Dig the holes for the Corner Posts. Posts must be planted at least 550mm deep. Posts must be 98m apart, SA Game Fences are manufactured in 100m rolls. You’ll need ± 2m, depending on the Post diameter, to go around the Post and to tie it off.
Note: The Posts total height from the ground surface must be ± 50mm higher than the fence.
For example, a 1.83m fence + 50mm = 1.88m. On uneven terrain Posts can be placed on the lowest and highest ground contour.
Step 3
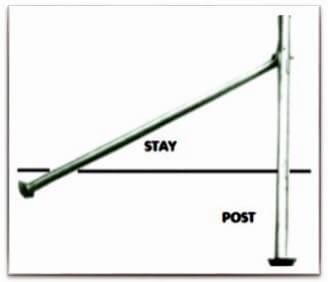
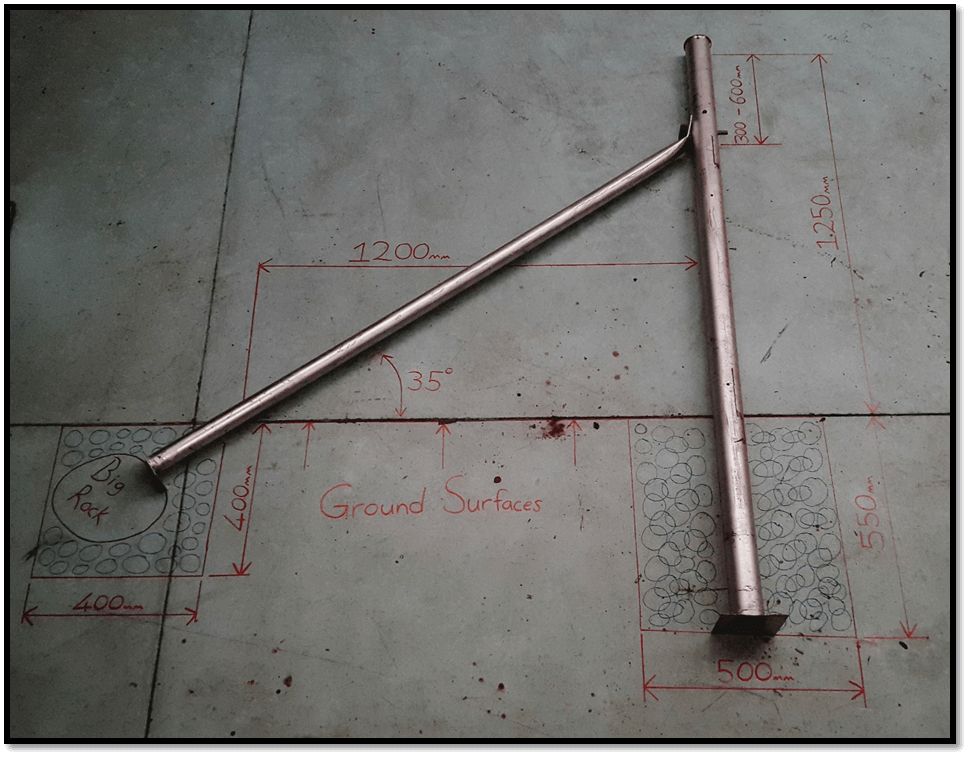
Supporting Stays
Dig the holes for the Stays. Refer to the sketches. This is the most important part of the whole structure. The Stay support the Post. If it’s done incorrectly the Post will pull out of the ground once tension is applied to the Post.
Stays should be bolted 400 – 700mm from the top of the post. This vary from heights and wall thickness of post. The stays must have an angle of ± 35° on the ground surface.
Step 4
Y-Section Standards
Y-Section Standards should be ± 8-10m apart or as needed. Closer Standards will result in less lateral movement.
Make sure that the Y Standard is in line with the fence.
The front section of the “Y” (corrugated) must face the fencing.
To place Standards in a straight line between the Posts you need to pull a fishing line (guide) tightly between Posts. Use this line as a guide to drive Standards in with a Y-Standard Post Driver.
Note: Make sure the Standard is ± 50mm higher than the height of the fence, from the ground surface.
Step 5
Droppers (Optional)
Attach Droppers to the fence with binding wire every ± 1 – 3 m apart, or as needed.
Note: Droppers are not required since vertical wires provide stability but can be added for additional stability.
Step 6
Prepare the starting point of your fence
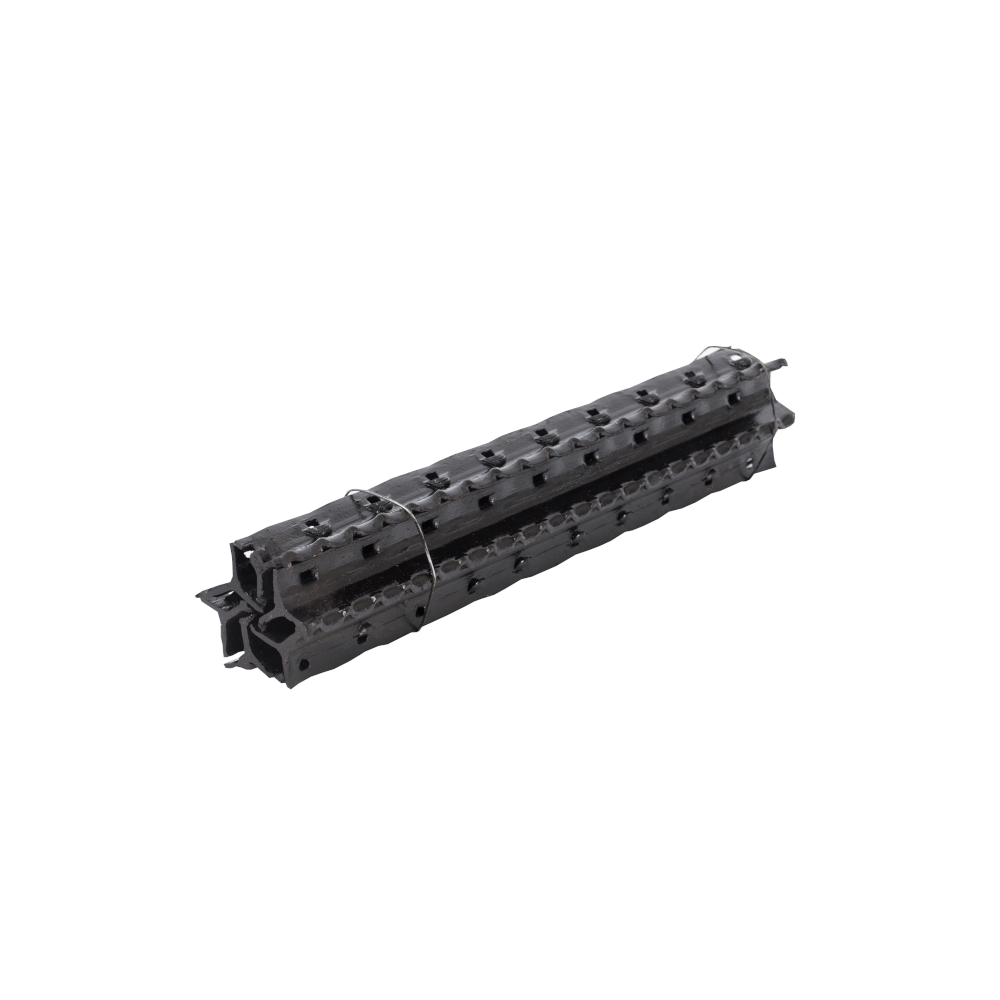
Open the roll. Use a wire plier to remove the first 2 – 3vertical wires from the horizontal wires, to have an access wire to go around the post.
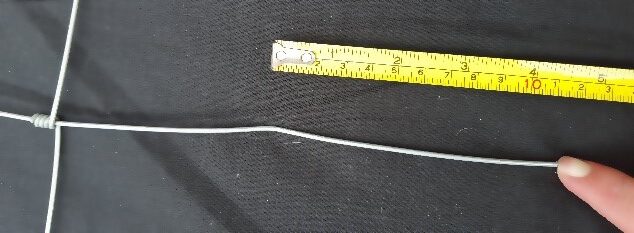
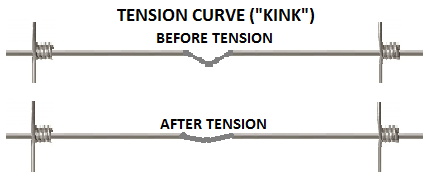
SA Game Fences have a “kink” (tension curve) on the horizontal wire every 150mm, distance from the kink to the end of the steel wire should be ± 120mm, cut off excess wire.
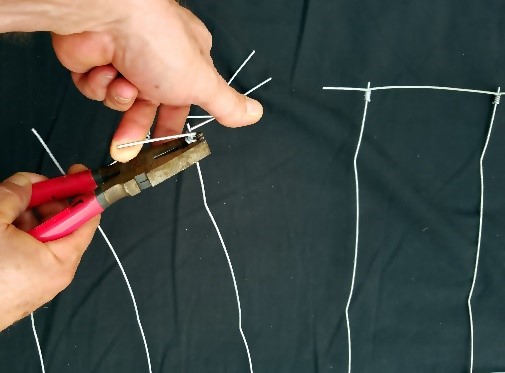
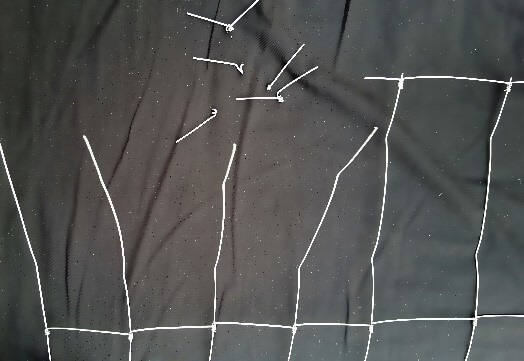
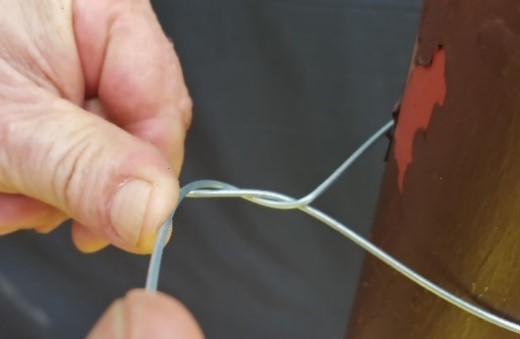
Bend all the horizontal wires ± 30° at the first kink.
The kinks will be used as a starting & ending point to pull all the horizontal wires with the correct tension.
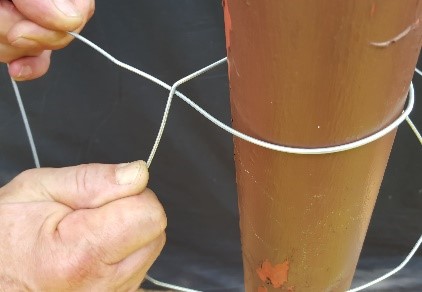
Attach Hinge Joint Fence to the Post
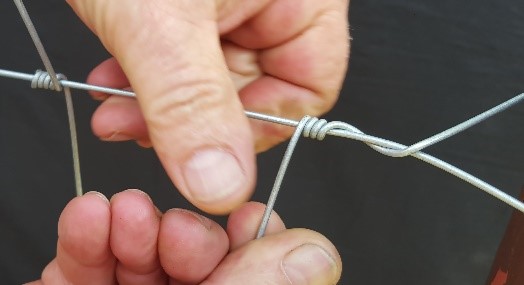
Wrap the end of the horizontal wire around the post and bend the wire around itself at the kink to maintain equal distance from the post.
Repeat this step with all horizontal wires until the fence is securely attached to the Post.
Step 7
Laying out your Fence
Roll off the desired distance of fence. Ensure the fence is in the correct orientation, usually with the smaller grid at the bottom, if applicable.
Remove any unnecessary slack out of the fence.
Attach the fence loosely to every Standard, the fence should have some movement to allow for the straining process.
Step 8
Straining the Fence
Use our Clamp Bar to pull the Hinge Joint Fence tight.
Attach the clamp bar to the end of the fence.
Attach a 4 Ton Cable Puller or Donalds Wire Strainer to the Post and Clamp Bar.
Note: For fence up to 1.2m high, 1 x 4 Ton Pullers can be used. For fences higher than 1.2m, 2 or 3 4 Ton Pullers are recommended.
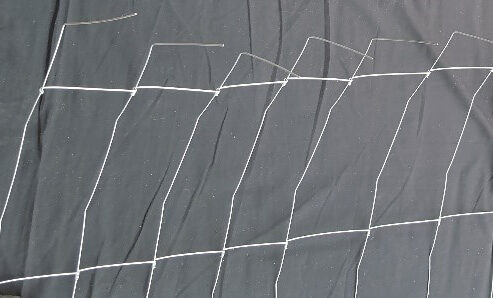
Strain the fence evenly with the pullers.
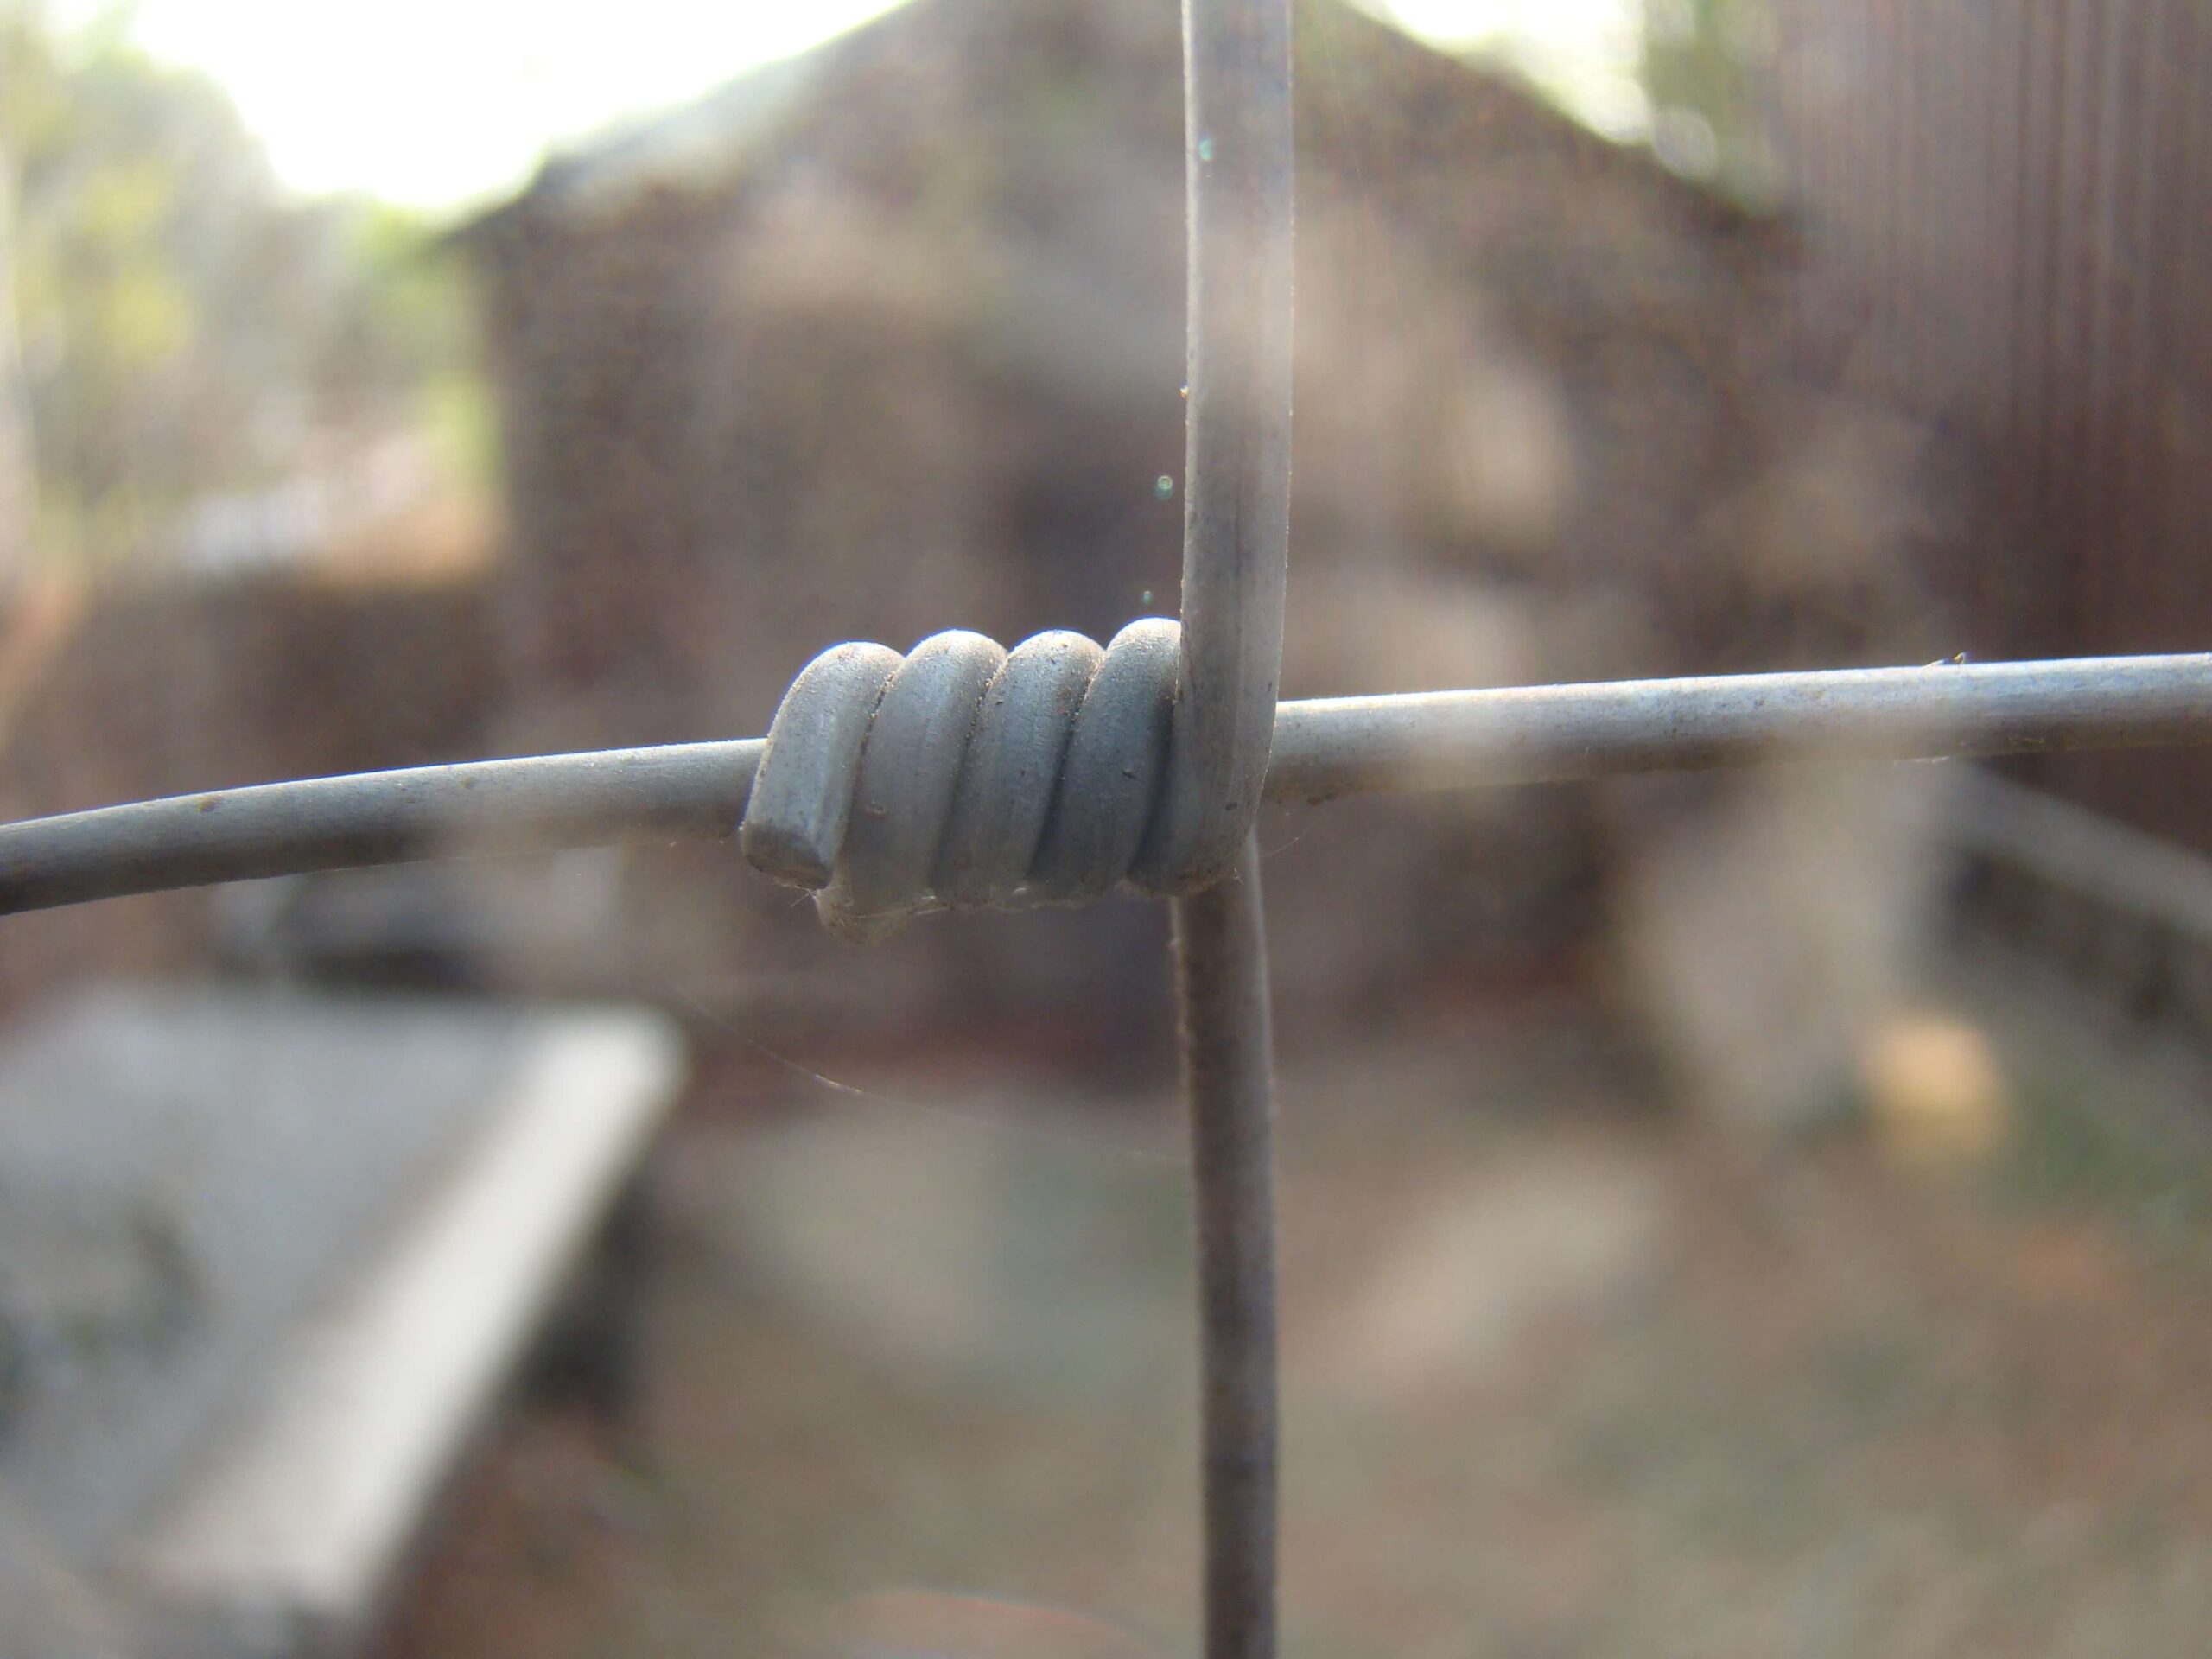
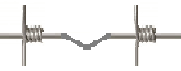
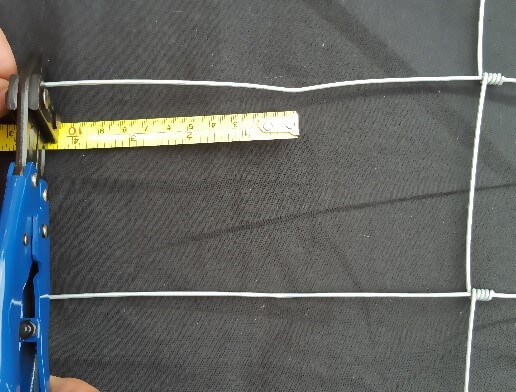
Once you feel tension on the fence, shake the fence up and down and re-pull. Repeat this step until the kink is slightly visible as illustrated below.
Once all slack is strained out of the fence, attach the horizontal wires to the Corner Post. Refer to Step 6.
Release the Pullers, remove Clamp Bar and cut off excess wire.
Step 9
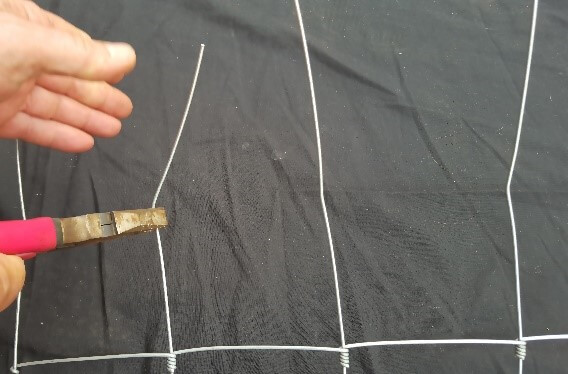
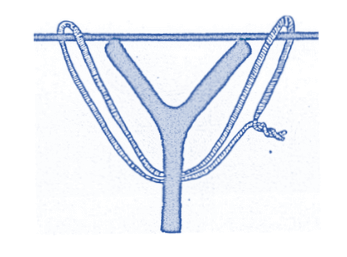
Attach Hinge Joint Fence to Y-Standards
Attach the Hinge Joint Fence to the Y-Standards according to the illustration below.
Important: The Hinge Joint Fence should be able to move freely at the attachment point to compensate for any expansion and contraction of the fence caused by changes in temperature.
Final Step: Paint Posts and Stays with Bitumen Aluminium paint.
Do not hesitate to contact us should you require any advice with the installation of your Hinge Joint Fence or recommendations on Fence Erectors who can assist with the installation process.